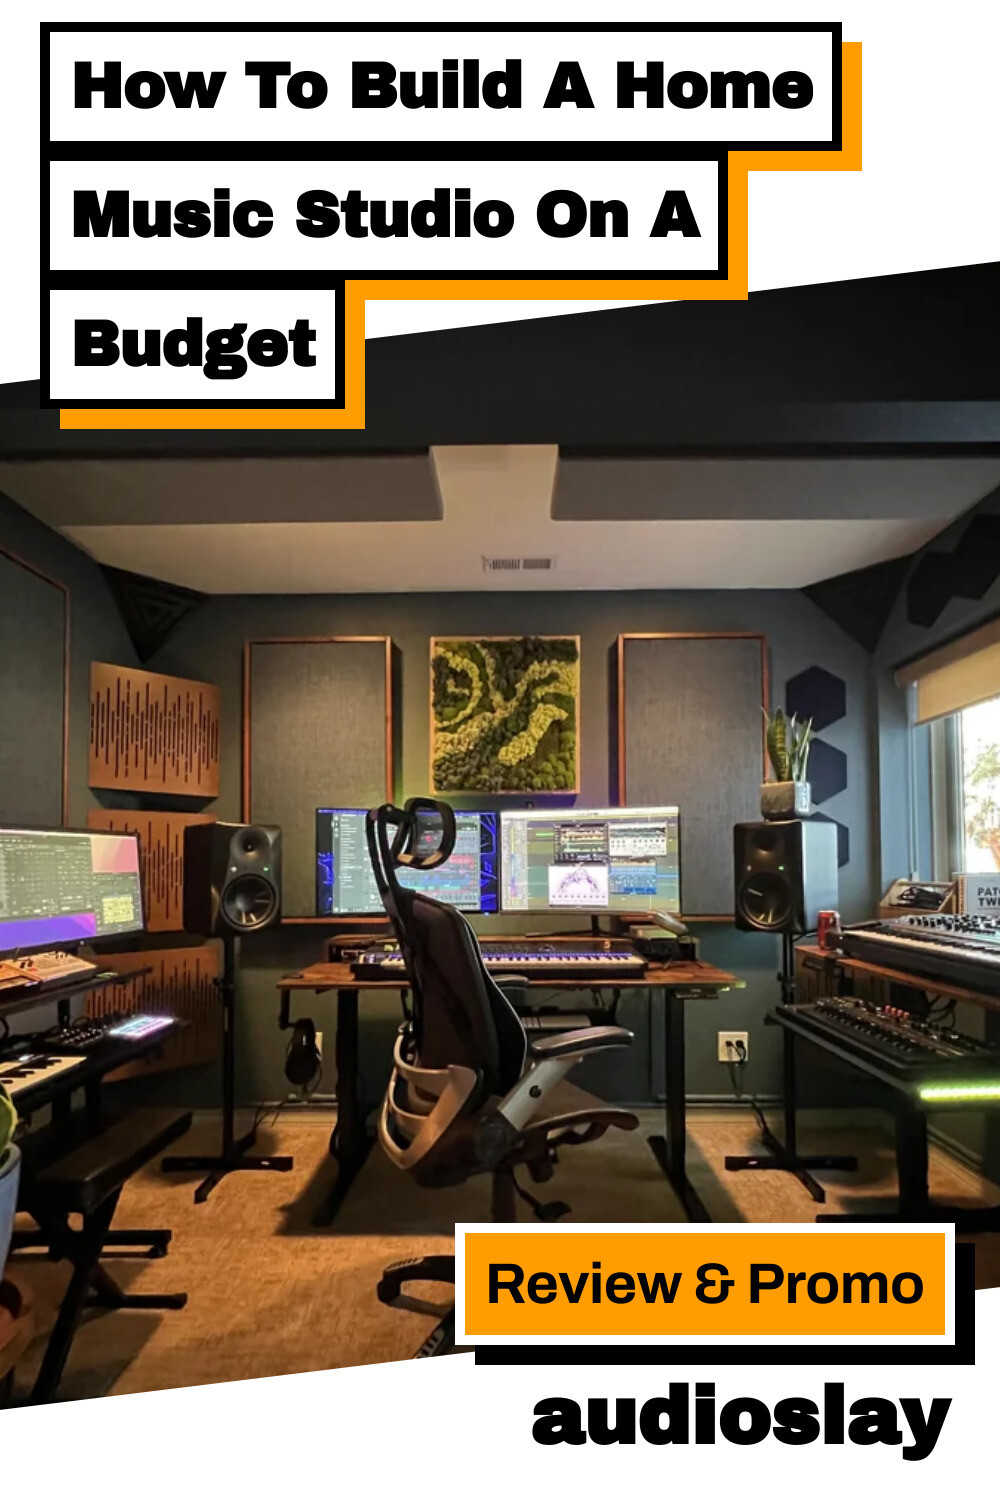

In today’s world, you don’t need to spend thousands of dollars to set up a professional-grade home studio. Whether you’re an aspiring musician, podcaster, or content creator, creating a studio that delivers top-notch audio and looks great for social media is entirely possible—even on a budget. In this article, we’ll explore everything you need, from gear recommendations to DIY hacks and lighting tips that will make your space look incredible for videos, all while keeping your wallet happy.
Start with a Budget-Friendly Setup Plan
Before diving into equipment, it’s essential to plan your studio space and budget. Think about what kind of content you’ll be creating. Are you primarily recording vocals, instruments, or podcasts? Do you plan to film videos for YouTube or Instagram? Understanding your goals will help you prioritize what gear you need.
Here’s a rough breakdown of costs to keep in mind:
- Basic home studio: $500 – $1,000
- Mid-tier home studio: $1,000 – $2,500
- Pro-level home studio: $2,500 and above
Essential Home Music Studio Equipment
1. Audio Interface
An audio interface is your gateway between your microphone/instruments and your computer. It’s essential for converting analog sound into digital audio.
Budget Option: Focusrite Scarlett 2i2. This is one of the most popular and affordable options, known for its reliable performance.
No products found.
Cheaper Alternative: Behringer UMC22. It’s not as polished as the Scarlett, but it’s a solid entry-level audio interface for beginners.
No products found.
2. Microphone
Choosing the right microphone is key to capturing quality sound. Dynamic microphones are budget-friendly and durable, while condenser microphones offer superior sensitivity, making them great for studio recording.
Budget Condenser Mic: Audio-Technica AT2020. A versatile, affordable condenser mic that’s great for vocals and instruments.
No products found.
Cheaper Alternative: Behringer C-1. A cheaper condenser mic that delivers good sound for the price.
No products found.
Budget Dynamic Mic: Shure SM58. A rugged, all-around dynamic microphone ideal for vocals.
No products found.
Cheaper Alternative: Samson Q2U. It’s a USB/XLR mic that’s beginner-friendly and versatile for podcasting and vocals.
No products found.
3. Headphones
Closed-back headphones are essential for monitoring audio without bleed, and they also help you mix tracks.
Budget Option: Audio-Technica ATH-M50X. A great pair of headphones widely recommended for studio use.
No products found.
Cheaper Alternative: Sony MDR-7506. These are professional-grade but more affordable than most high-end studio headphones.
No products found.
4. Studio Monitors
Studio monitors offer flat, uncolored sound, so you can accurately hear what’s being recorded. They’re an important step up from regular speakers.
Budget Option: KRK Rokit 5 G4. Excellent monitors for the price with clear, balanced sound.
No products found.
Cheaper Alternative: PreSonus Eris E3.5. Affordable studio monitors that still provide a significant upgrade over regular speakers.
No products found.
5. MIDI Controller
For musicians producing beats, composing, or layering instruments, a MIDI controller is a must.
Budget Option: Akai MPK Mini MK3. Compact, affordable, and highly functional for beginners and pros alike.
No products found.
Cheaper Alternative: Arturia MiniLab MKII. Offers similar features with high-quality build and software integration.
No products found.
6. Acoustic Treatment
Don’t underestimate the importance of acoustics. Good soundproofing prevents unwanted reflections and noise, making your recordings sound cleaner.
Budget Option: Auralex Studiofoam Panels. These are affordable and easy to install foam panels that will improve your room acoustics.
No products found.
Cheaper Alternative: DIY Acoustic Panels ($30 to $50). Use rock wool, fabric, and wooden frames to create your own acoustic panels. It’s a great way to save money and customize your studio.
DIY Home Studio Tips and Hacks
1. Build Your Own Acoustic Panels
Instead of buying expensive foam, create DIY panels using these materials:
- Materials needed: Wood frames, rock wool or fiberglass, breathable fabric (like burlap or cotton), a staple gun, and hanging tools.
- Cost: $30 to $50 per panel (versus $100+ for store-bought ones).
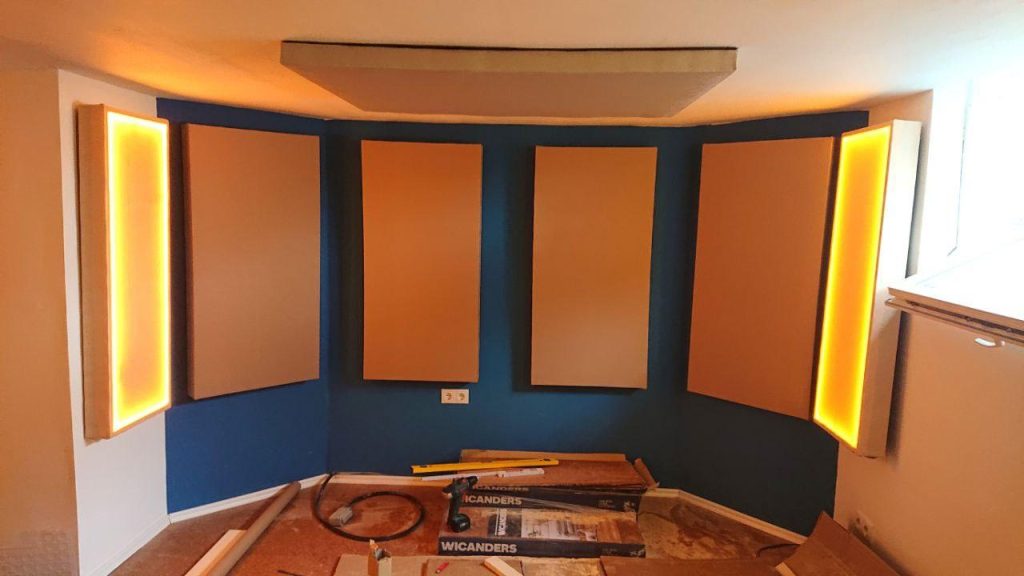
Simply create a wooden frame, fill it with the soundproofing material, wrap it in fabric, and mount it on your walls. These are great for treating key areas in your studio like behind the microphone or around your desk.
2. Desk Setup
Instead of splurging on a high-end desk designed for studios, repurpose or upcycle an old desk. Customize it to your needs with a few tweaks:
- DIY Shelf Hack: Use a monitor stand or old bookshelf to create an elevated platform for your studio monitors, making them ear-level.
- Cable Management: Use affordable cable ties or under-desk organizers to keep everything neat and professional-looking.
3. Sound Diffusers
For a DIY diffuser, try creating a skyline diffuser using cut wood blocks at different lengths arranged on a board. This will scatter sound reflections and improve the acoustics in your room.
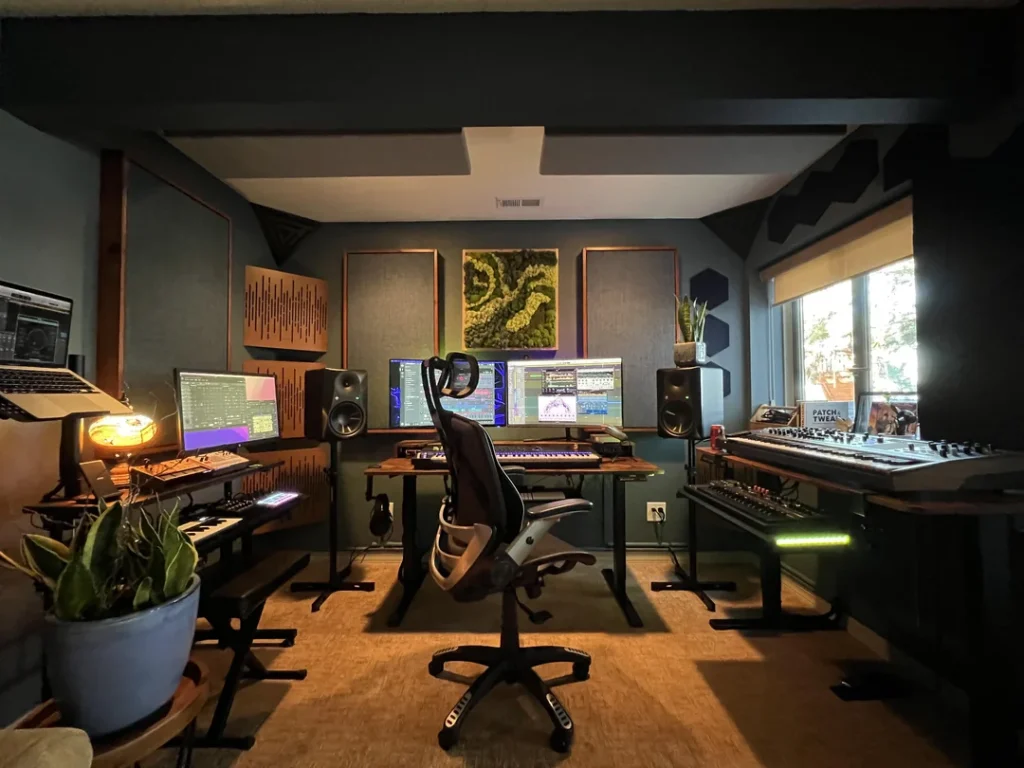
How to Make Your Home Studio Look Good for Social Media Videos
If you’re recording content for YouTube, Instagram, or TikTok, aesthetics matter just as much as sound. Here are some budget-friendly ways to make your space look professional:
1. LED Strip Lighting
Budget Option: Govee LED Light Strips. Place these behind your desk, along your shelves, or around your equipment to add vibrant color that looks great on video. LED strips can completely change the vibe of your room with adjustable colors and brightness.
No products found.
2. Ring Lights and Softboxes
Budget Option: Neewer 18-Inch Ring Light. Ideal for creating soft, even lighting on your face during video recordings.
No products found.
DIY Alternative: Create your own softbox light using a large cardboard box, white parchment paper, and a standard LED bulb. This softens the light and creates a professional glow.
3. Tidy Up with Smart Storage
Cluttered cables and gear lying around can detract from the clean look you want in your studio videos. Use:
- Ikea Shelves ($30 to $100) for storing gear neatly.
- Velcro cable ties to keep all your cables in check and hidden from view.
Budget Estimates for Your Home Studio
Let’s look at a rough budget for a fully functional home studio:
| Category | Budget Estimate | Cheaper Alternatives |
|---|---|---|
| Audio Interface | $170 (Scarlett 2i2) | $60 (Behringer UMC22) |
| Microphone | $100 (Audio-Technica AT2020) | $45 (Behringer C-1) |
| Headphones | $150 (ATH-M50X) | $100 (Sony MDR-7506) |
| Studio Monitors | $350 (KRK Rokit 5 G4) | $100 (PreSonus Eris E3.5) |
| MIDI Controller | $100 (Akai MPK Mini MK3) | $100 (Arturia MiniLab MKII) |
| Acoustic Treatment | $50 (Auralex Panels) | $30 (DIY Panels) |
| Lighting | $60 (Ring Light) | $25 (Govee LED Strips) |
| Total Cost | $980 | $420 |
Conclusion: Building Your Dream Studio on a Budget
Setting up the ultimate home studio doesn’t have to cost a fortune. By carefully selecting budget-friendly gear, leveraging DIY solutions, and enhancing your space with affordable lighting, you can create a space that looks and sounds professional—without breaking the bank.
Whether you’re recording music, podcasts, or video content, this guide provides you with the tools and strategies to make the most of your budget. Now that you’ve got the knowledge, it’s time to get creative and build your ultimate home studio!
What part of your studio will you upgrade first?